This section isn’t intended to be an all-inclusive resource for learning photography, but we can get started by looking at some of the basics and provide some resources for further learning. If you want to master photography these are all things that will need plenty of attention.
1. The Exposure Triangle
A properly exposed photograph will involve a combination of three different factors: shutter speed, aperture, and ISO. Shutter speed is the amount of time that the camera’s shutter is open. Fast shutter speeds can be used to freeze motion (as you might want to do when photographing sports, animals, cars, or other moving objects), and slow shutter speeds can be used to blur motion (such as moving water, car headlights at night, etc.). Long shutter speeds are also necessary at night or in very low light situations.
Aperture refers to the size of the opening when a picture is taken. A larger aperture will let in more light and a smaller aperture will let in less light.
ISO is the measure of the camera’s sensitivity to light. In low light situations you can increase the ISO to get a better shot, but as you increase the ISO you will also begin to add digital noise. As a result of the increased noise you will generally want to keep ISO as low as possible.
The relationship of aperture, shutter speed, and ISO is known as the exposure triangle because they all impact each other. For example, if you want to use a faster shutter speed to reduce blur from a moving object you will need to either use a larger aperture to let in more light or increase the ISO to offset the change in shutter speed.
Exposure Triangle
If you are shooting in auto mode the camera will automatically make the exposure decisions. In some cases the camera may get it right, but in many situations the camera won’t know exactly what you want to accomplish with a particular shot. In order to have control you will need to work in manual, aperture priority, or shutter priority modes.
The exposure triangle and the basics of proper exposure is something that is best learned with practice, but for a more in depth explanation of the topic please refer to this article from Cambridge in Colour.
2. Depth of Field Depth of field
is the distance between nearest and farthest objects that are in focus. A shallow depth of field can be used to focus on a close object and throw the background out of focus. You’ll want to learn how to use depth of field to create the effects and mood that you want in a particular photo. For example, in the photo below the flower in the foreground is in focus and the background is out of focus. This photo would look drastically different if everything in the photo was in focus.

Egyptian Mau by Ra2D
To achieve this type of effect you would use a large aperture (represented by a low f-stop number like f/4) and focus on an object that is close to you. For a more detailed explanation please see the Depth of Field tutorial from Cambridge in Colour.
3. Understanding Light
Light is one of the most important elements in photography, so in order to improve your results you will need to understand light and shoot in the best light possible. When shooting outdoors the hours after sunrise and before sunset (the golden hour) tend to produce the best light. Mid-day sun can produce harsh lighting that is difficult to work with.
Light is a complex topic that has entire books dedicated to its explanation and understanding. If you want to learn more Digital Photography School has a series of articles that cover various aspects of light.
4. Composition Basics
Just like graphic design, photographic composition also has several “rules” that can be used to help you create effective and attractive photos. Of course, these rules don’t need to be followed all of the time, but if you think about them while you are photographing you should see the quality of your photos improve.
Rule of Thirds
The rule of thirds involves breaking your photo down into 9 equal segments, divided by two horizontal lines and two vertical lines. You’ll place the most important element in your photo on the lines or at the intersection of the lines.

Egypt Marsa Matrouh Agiba Beach Umm El Rakham Rock by Ra2D
Fill the Frame
 1919 Elkington England British Alpacca Silver Tea Spoon by Ra2D
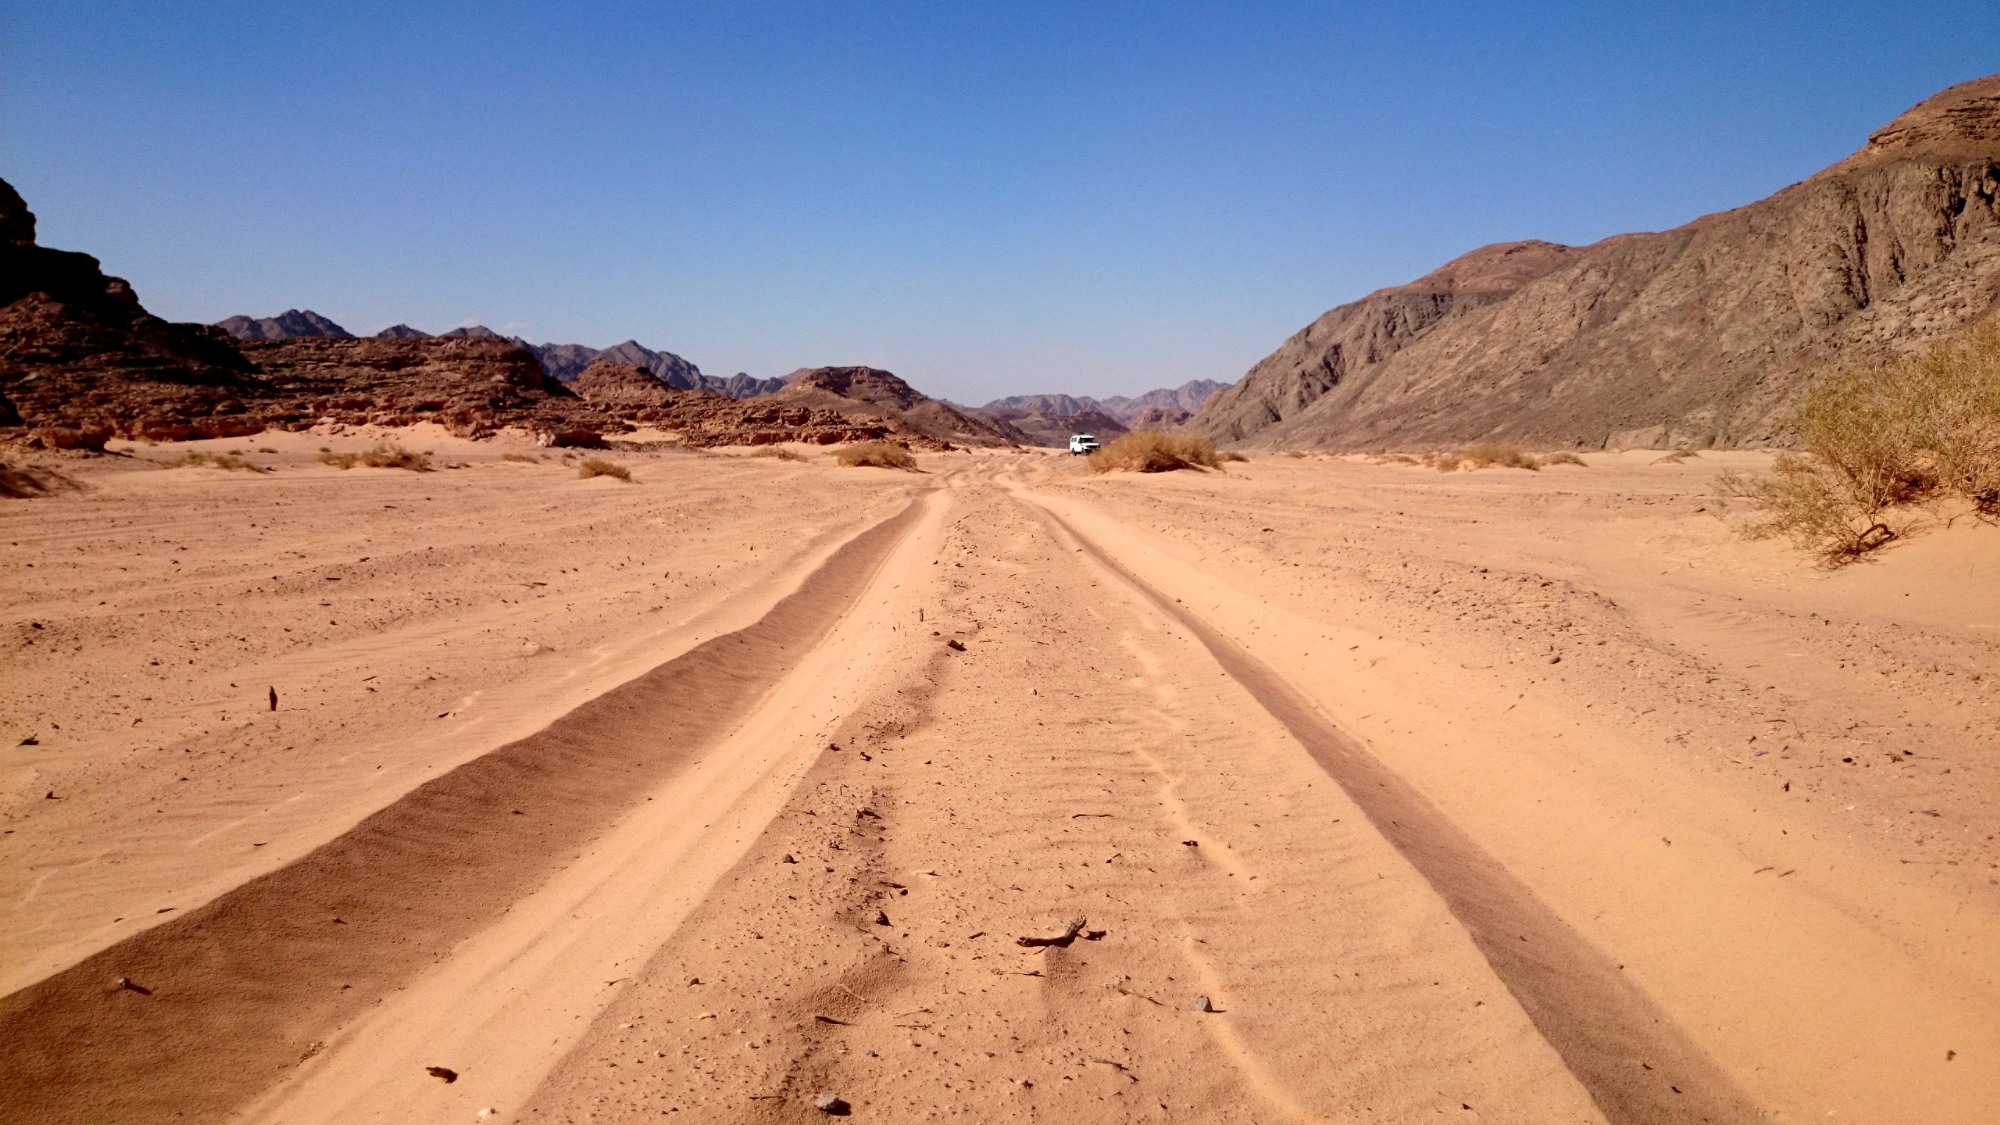
Use Leading Lines
Perspective and leading lines can be used with great impact to lead the eye of the viewer. This usually involves taking some time to think about what perspective will give the most interesting view.


Development | Ra2Directory+ | Multimedia | Photography | Design
( Copyright © 2000/2025 Ra2D ™ All Rights Reserved. )